All pressure inputs work generally the same way. This article discusses how to install, enable, and configure pressure switches or sensors.
WHAT YOU NEED
Before getting started, make sure you have:
- ALiEn2 or ALiEn2 Expert Plunger Lift Controller
- Pressure Transducer or Pressure Switch
Install Pressure Device

Pressure Switch Connections
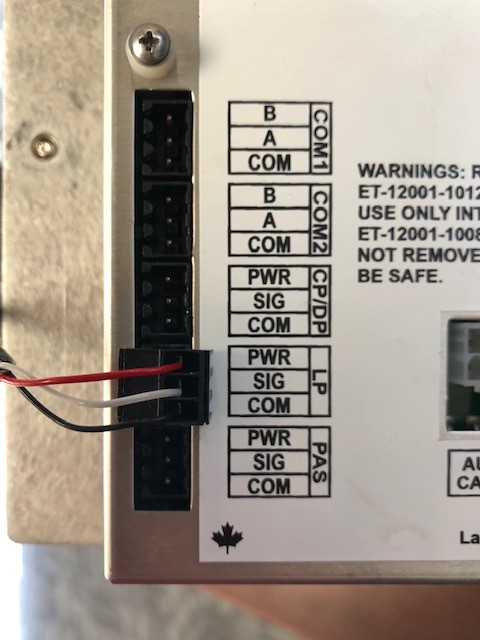
A pressure switch is a 2 wire dry contact that is connected to the SIG and COM terminals associated with a pressure input on the controller.
Pressure Sensor COnnectionS
A pressure sensor connection uses 3 wires, SIG, COM, and PWR. The controller provides power to a pressure transducer, reads the return signal, and scales it appropriately. This allows the controller to give a sensor reading that can be reported to the user or used for safety or optimization.
Enable and Configure Pressure Device
- Press install.
- Scroll down to Inputs and press select.
- Scroll down to the desired pressure (Casing, Line, Tubing, Differential) and press select.
- Enable as a switch or sensor.
- For a switch, set whether it operates as Normally Open (N/O) or Normally Closed (N/C) to determine what is considered a trip. Default is N/O.
- For a sensor, set the range so that the analog signal is appropriately scaled based on pressure range of the physical transducer. Default is 500 psi.
Using a pressure Device
Once a pressure device is installed, enabled, and configured, it is used in a number of different ways.
- Status Reporting (Screen, Logs, and Modbus)
- Device Logging
- Safety
- Optimization
